A Wood Pasture Tool
By Tom Hulton-Harrop
A problem regularly faced by farmers, land managers and conservationists is the question of where to plant trees.
There are situations where a regular, repeating layout is required and advantageous to the task at hand (e.g. timber plantations) but there are cases where a more scattered and natural layout is preferable (e.g. a sparsely wooded area). Attempting this manually is incredibly difficult as it’s all too easy to inadvertently create patterns unintentionally. This is where the Wood Pasture Tool comes in, a simple application we built to randomly generate a series of points suitable for tree planting.
The application
The concept for this project grew out of an idea from Lizzie Hulton-Harrop (my sister) who was interested in creating wood pasture at Pollardine. The initial plan was to create a tool that would generate a number of points within a field parcel where you could specify the minimum distance from the field boundary (to avoid the tool suggesting planting trees too close to the fence line) and a minimum distance between each tree (to control the density). Once these two parameters had been set, the tool would randomly generate points within that field parcel that you could then export to a GPS device to show where to plant in the field.
We’re at the stage now where we have a proof-of-concept application that does just this. In this article we’ll walk through what the tool can do and how to use it.
When first opening the application you are presented with this view.

You’ll notice the central table is empty as we haven’t imported any data yet. To get some useful information out of the tool we need to import a GEOJson file of a holding from the Land App website. This file contains boundary information for all fields (as well as other points of interest such as buildings, roads and streams) based on information submitted to the Rural Payments Agency for the Basic Payment Scheme. The Wood Pasture Tool will identify each element as a row in the table and allow the user to toggle on or off by clicking on it.


Clicking Export to Google Maps will prompt for a .csv file to be named and created. This can then be imported into Google My Maps.

To verify the distance between each tree it’s possible to draw lines connecting points in Google My Maps and check the distance is no less than the minimum threshold set.

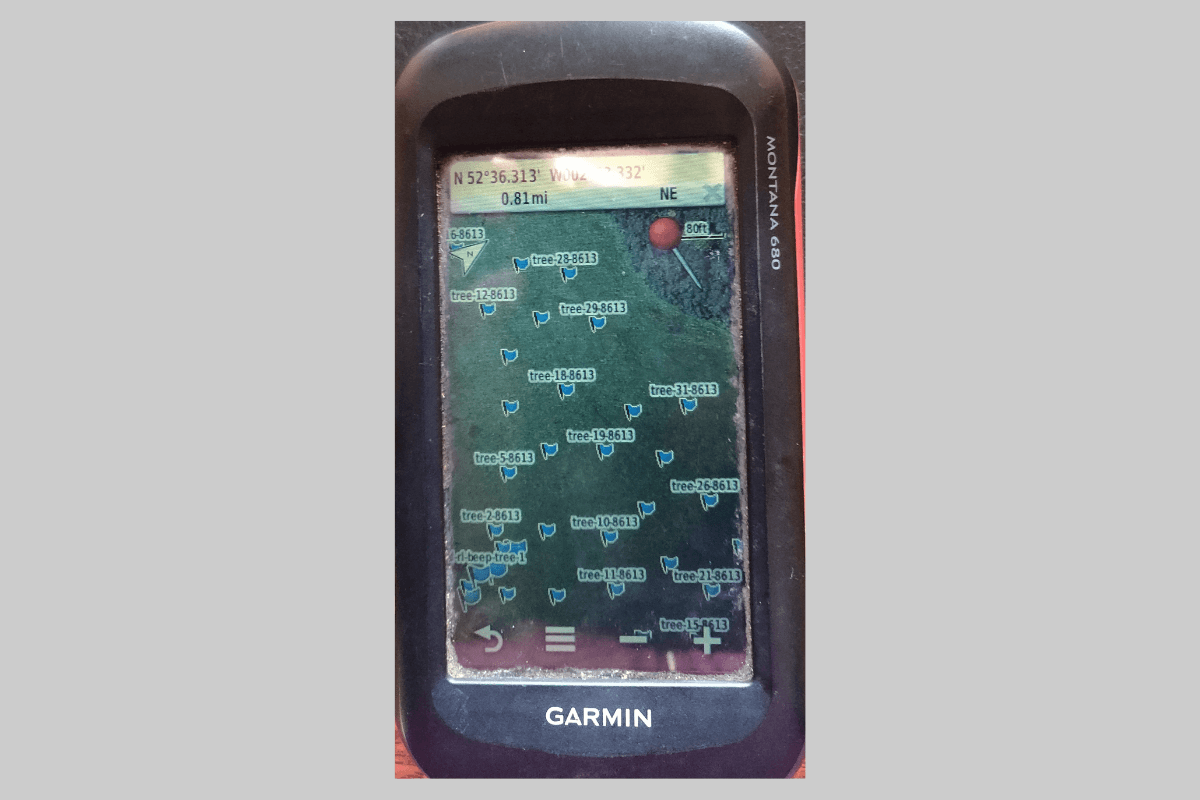
Once you’re happy with the tree positions you can then export to Garmin which will produce a .gpx file. Simply connect your Garmin device to your computer and copy the file across. This will then list the points in a new layer you can easily toggle on or off.


If you have any questions about the Wood Pasture Tool please do get in touch and if you’d like to try it out yourself we’d be happy to share this early version with you and get feedback on what you’d like to see added in future.
